- Logging On
- Navigation
- Syncing Data
- Settings
- Jobs
- Back button
- Add Sections
- Form Sections
- Time
- Grids
- Photos
- On Hold
- Completed
- Assets
Logging on
Run Konformance on your device by clicking on the Konformance icon.
Once the program is loaded, you will be presented with a screen similar to what’s shown in the image below.
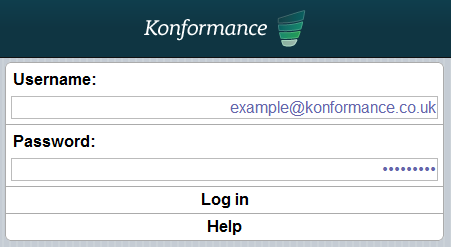
Verify that your username (which is your email address) and your password relate to the details you registered with Konformance and click ‘Log in’. You will require a valid network connection for this.
Navigation
Sync
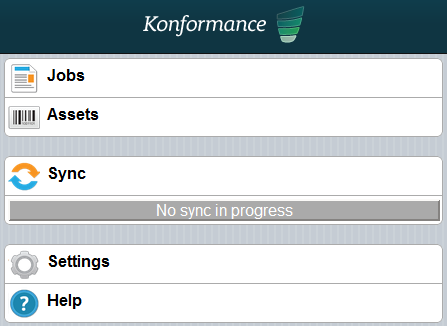
Click on ‘Sync’ to download any allocated jobs. Syncing for the first time will bring down all work item types (forms that are Published on the web system) which may mean that the first sync takes a little longer than subsequent syncs will. The first sync will also pull down settings, such as telling the device if you are an asset user. The mobile user should press this sync button whenever they need to check to see if they have been allocated any new jobs or if they need to send completed tasks back to the web system.
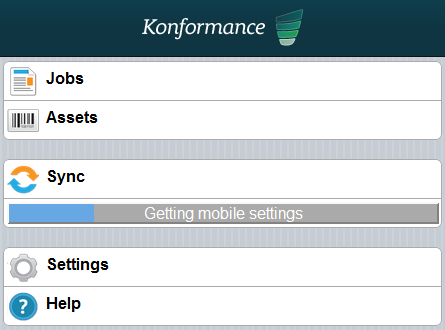
A sync bar will be displayed to show the downloading progress. Once the synchronisation is complete the system will display a summary of any jobs on the job page. The image below shows the sync bar that is displayed during the synchronisation process:
Settings
Click on ‘Settings’ on the home screen to display the option change user, which will take you to the login page. You will also see version numbers displayed here. Font size can be changed by pressing ‘Toggle Size’. The Bluetooth probe can also be connected by pressing ‘Bluetooth probe’. Clear cache is for use only when recommended by support staff.
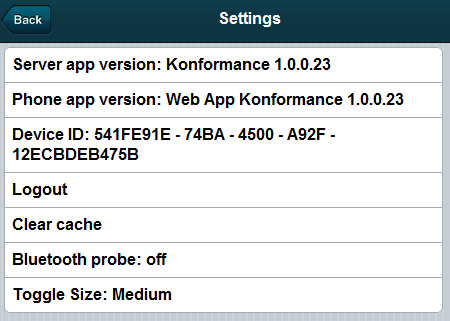
Go back to the home page by clicking the back button in the top left corner: 
Jobs
Click on ‘Jobs’ to display a summary of any allocated jobs. After the syncing process any new jobs for the user will be displayed in the new section. They will be displayed in order of the scheduled completion time. The picture below shows the job page with a new job. The jobs will be displayed in three categories; new, incomplete and complete jobs.
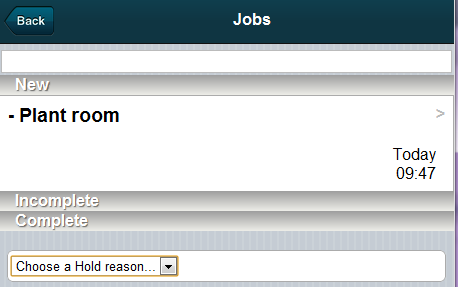
Click on the job to display the job summary screen, see below:
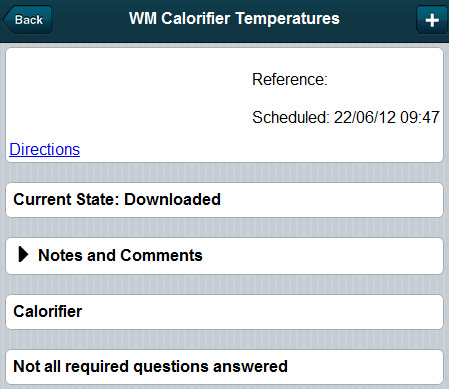
The section at the top of the screen displays the job summary information. By default this will display the job reference if there is one, and scheduled time and date. Clicking ‘Directions’ will take you to Google maps.
When all required questions have been answered,  will change to
  . The current state will change to ‘Completed’ and the job will move from the ‘New’ section of the jobs list page to the ‘Complete’ section.
Back
You find the back button at the top of the left corner. This button will take you back to the home page.
Add Sections 
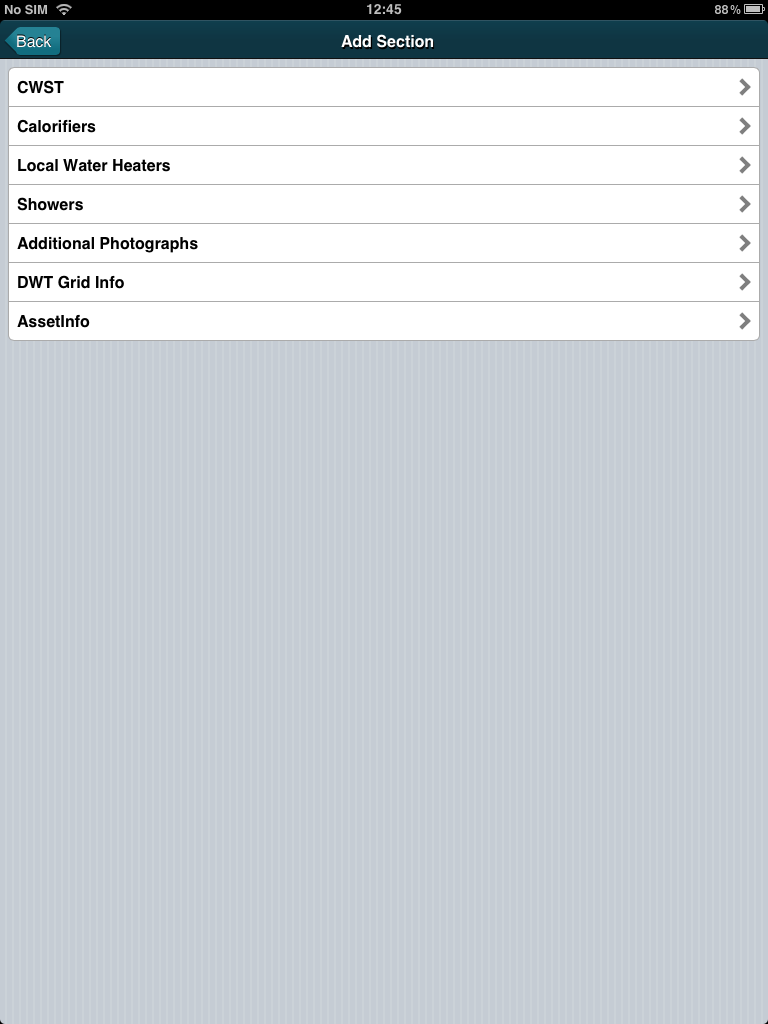
You find the add sections button at the top right corner. This button will give you an opportunity to add more sections to the job summary. This is used for adding in template-only or repeatable sections. The available sections are displayed on a new page and you add a section by clicking on it.
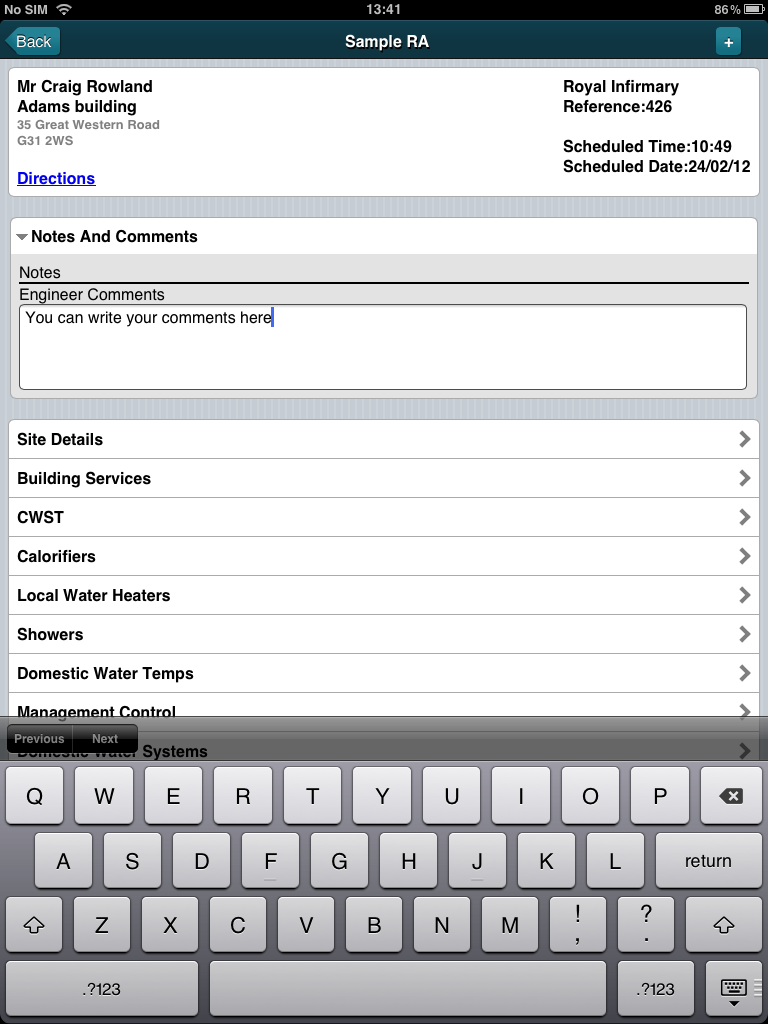
Notes And Comments
This section displays any job notes that have been added for your attention. It also allows the field worker to add additional notes on the job. Click on this section to display the notes and add new ones, similar to the image below:
Form Sections
Click on any of the displayed sections to go to a part of the form that the field worker should complete. When you have finished with one section, click on the back button at the top left corner to go back to the job summary page. Below is an example of a section list in a form.
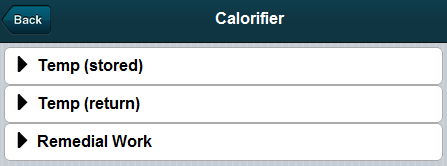
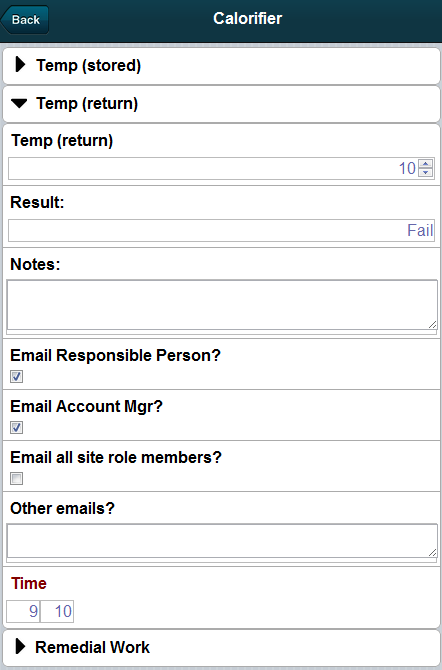
Each section consists of one or more tabs that you can expand by clicking on them. See the example below:
Input Time
If you need to input the time, you will see this box:  . Click anywhere in the box to write the time. You can type any number, but the box will only allow true times. For example, you cannot put in 52:68. If you press 9, the time will automatically go to 09:00.

Grids
A grid will display the information contained as the section title. For example, in the picture below, the Location is Site 1 and the Temperature is 35.7 so this is what is displayed in the section heading.
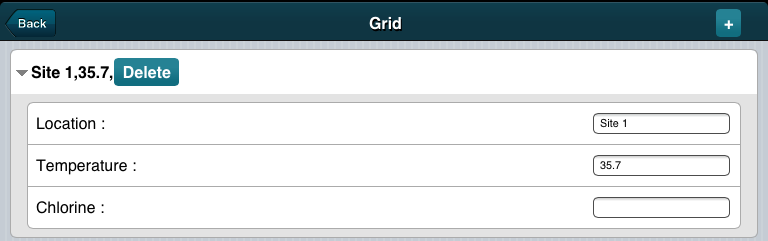
To add another section, press the add button: . You can add as many sections as you want to the grid. When the job is completed and sent back to the web system these sections will be rendered into a document. All the information in the sections will appear in a table.
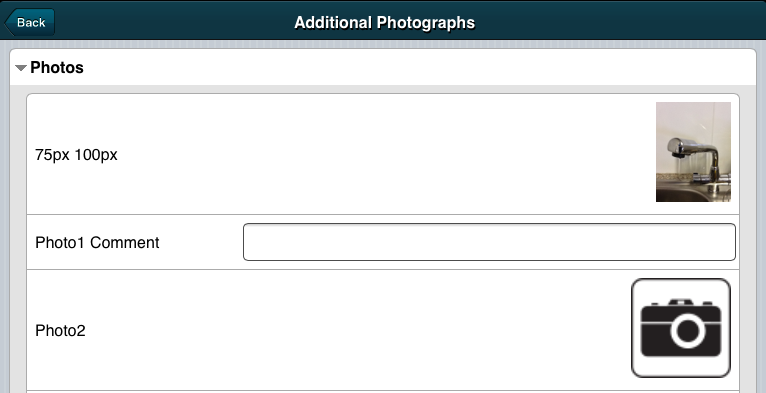
Take Photos
If a photo is needed within the form, there will be an icon  to show where it will go. Click this to turn the camera on.
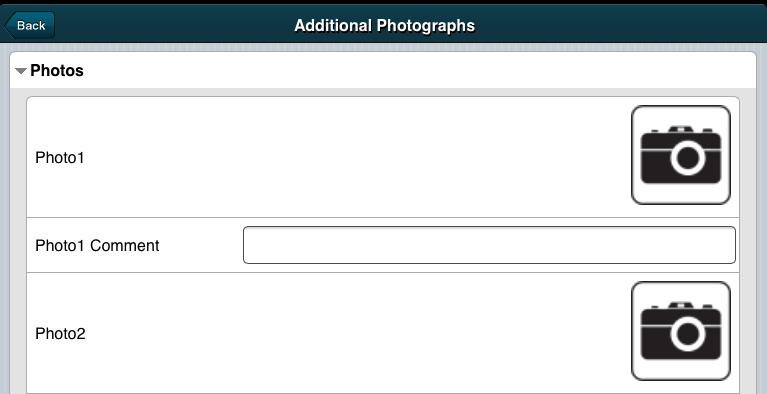
Make sure the camera is not covered and the screen will display what the camera sees. Here, we use an iPad as an example. Camera controls on Android devices will differ slightly, but taking photos within the form will be the same.
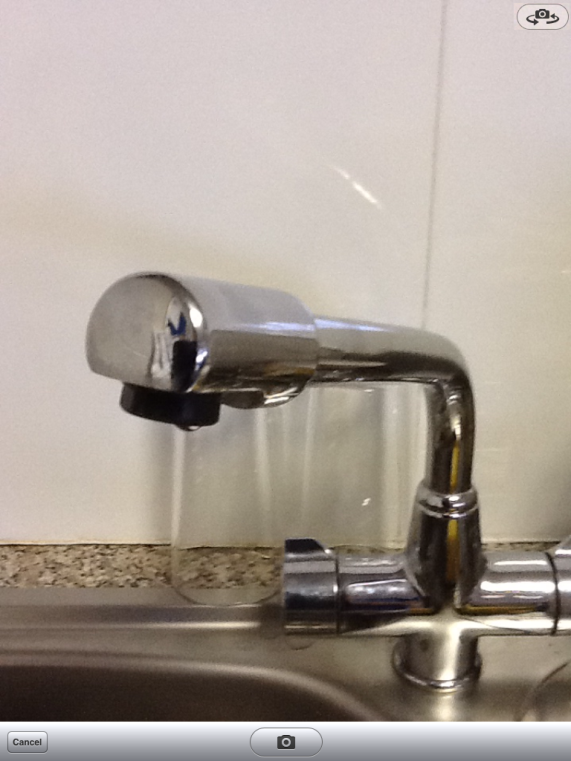
To take the photo, press the  button. You will then have the option to retake the picture or use it. At the bottom of the screen you will see these buttons:
  and
and  . An Android device may say ‘Discard’ instead of ‘Retake’, but this will perform the same function. If you are unhappy with the photo you can retake it as many times as you like. When you are satisfied, press the ‘Use’ button and it will be inserted into your form.
Put Job On Hold
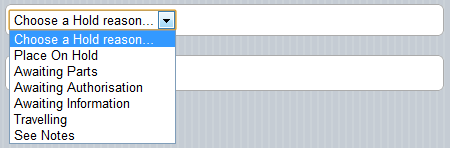
If the job cannot be completed at the time, it is possible to select a reason from a dropdown list on the job summary page.
Complete Form
When all sections on the form have been completed, click on this button to move the job to complete, as seen below.
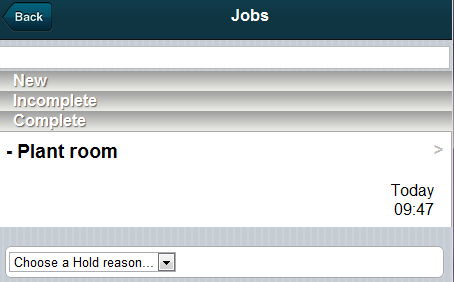
The next time you synchronise, all the jobs that have been completed will be sent back to the server with the status, ‘Mobile Form Completed’.
If you go back to the job page without clicking on ‘Complete Form’ the job will be displayed in the incomplete section. Incomplete jobs will not be sent back to the server when you synchronise the device.
Assets
Press the ‘Assets’ button: 
This will take you to the options for assets, as seen in the image below.
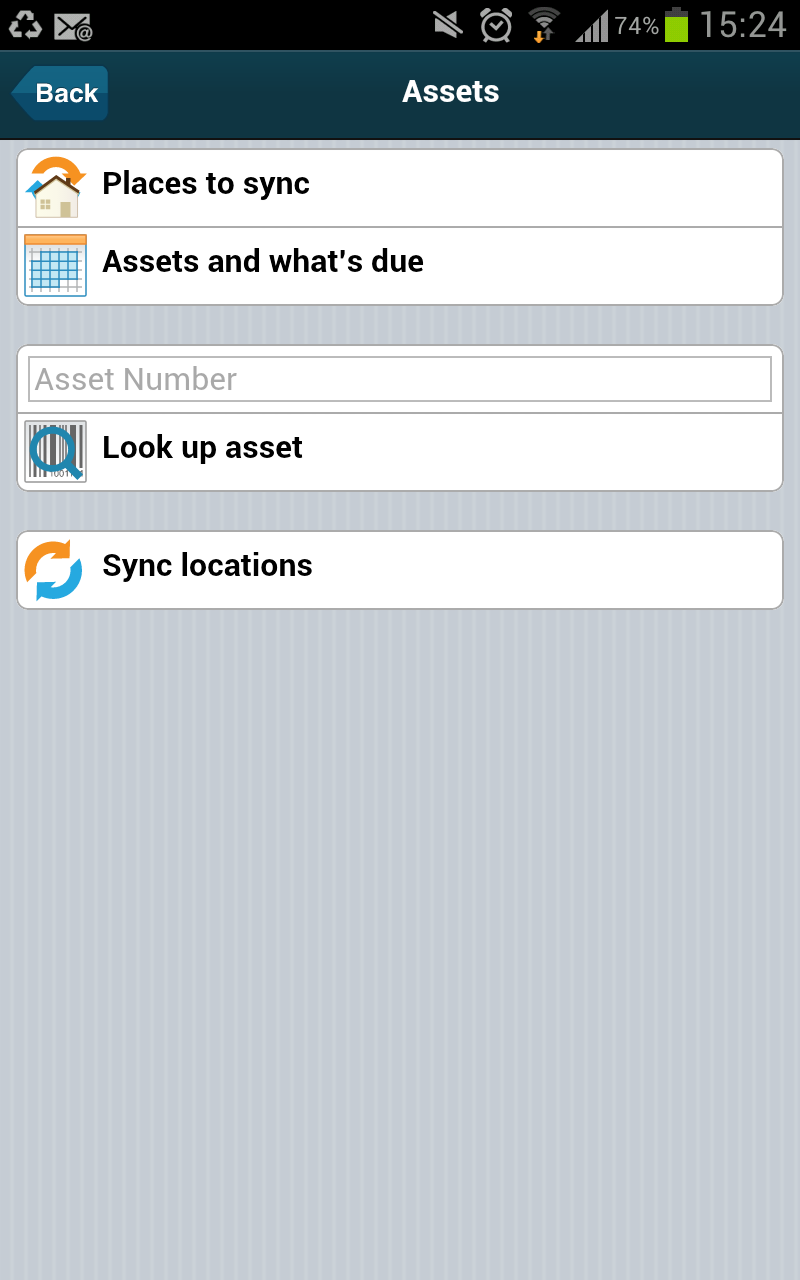
The first time you log on to the device, press the ‘Sync locations’ button. A wheel will show the progress of this initial sync.
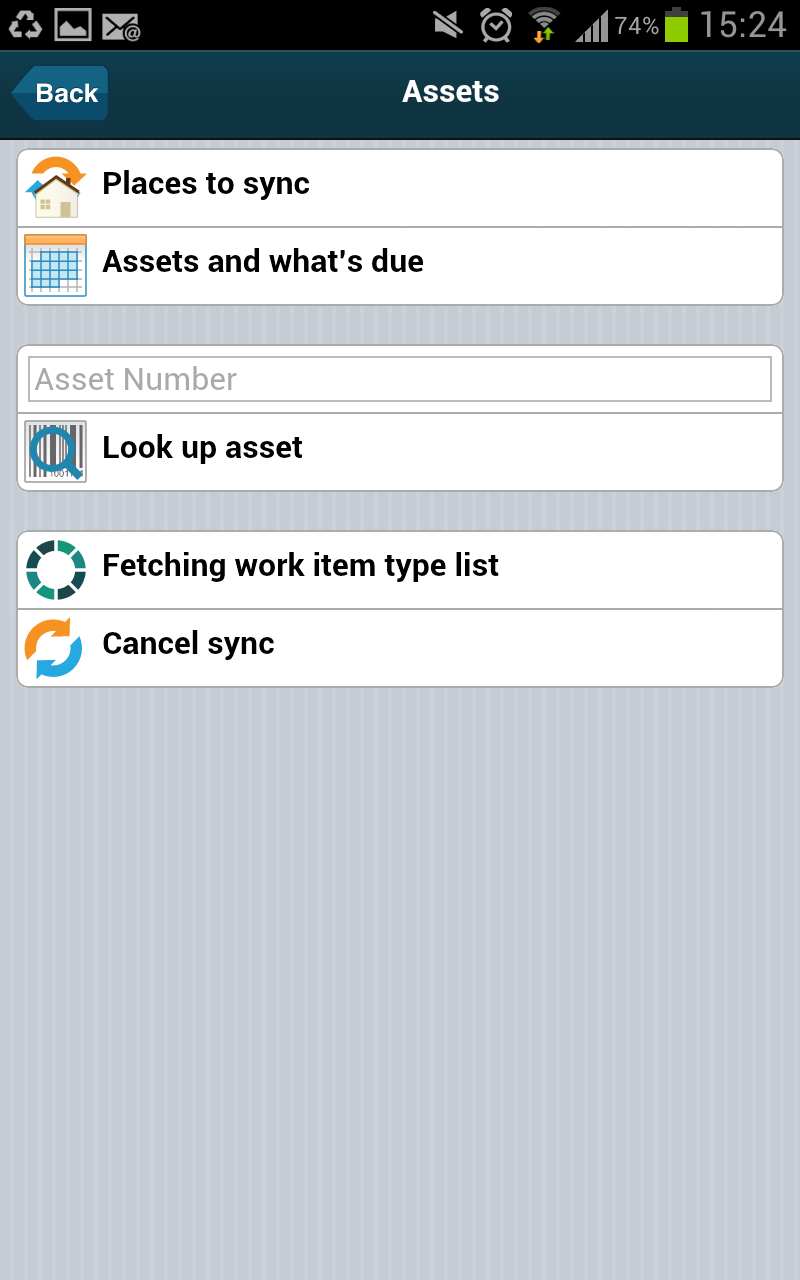
Asset information can be downloaded to the device on a client, site or location basis, right down to a specific room in a building. To choose which client, site or location’s asset information you want to pull down to the device, press the ‘Places to Sync’ button. You will be presented with a list of clients. Select the client to sync; either press the box to select all of that client’s sites and assets or press on the row to go into the next level. You can keep pressing the row until you come to the last option. Ie, you could keep pressing the row to get to a specific room within a building on a site that you want to sync the assets for.
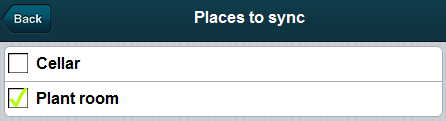
When you have selected, press the ‘Done’ button at the top of the screen. This will take you back to the asset page. Press the ‘Back’ button to go back to the main page, and press the sync button: . This will download the information. When it is complete, return to the asset menu. From here it is possible to look up the asset in two ways; enter the asset name (or barcode/ reference number):
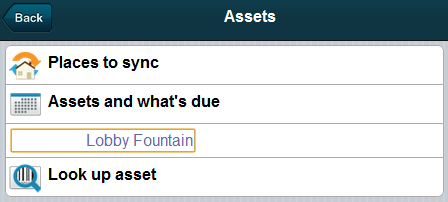
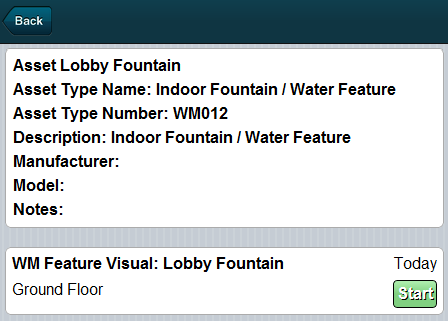
This will take you to the asset summary page. Any information about the asset, including any jobs due to be completed on it, will be listed here.
The second way to look up an asset is by selecting  .
.
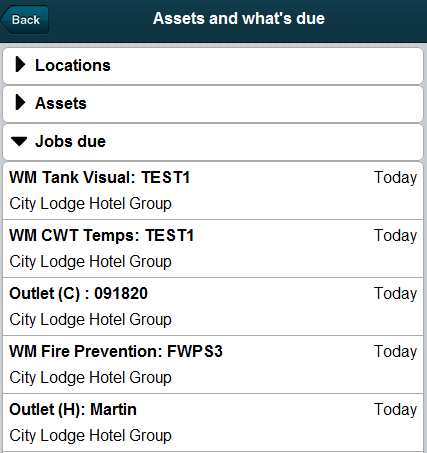
This will take you to a list of all the assets downloaded and a list of tasks that are due to be completed. Pressing one of these brings up a green ‘Start’ button, and when this is pressed, the task opens up. The job can be completed as normal.