
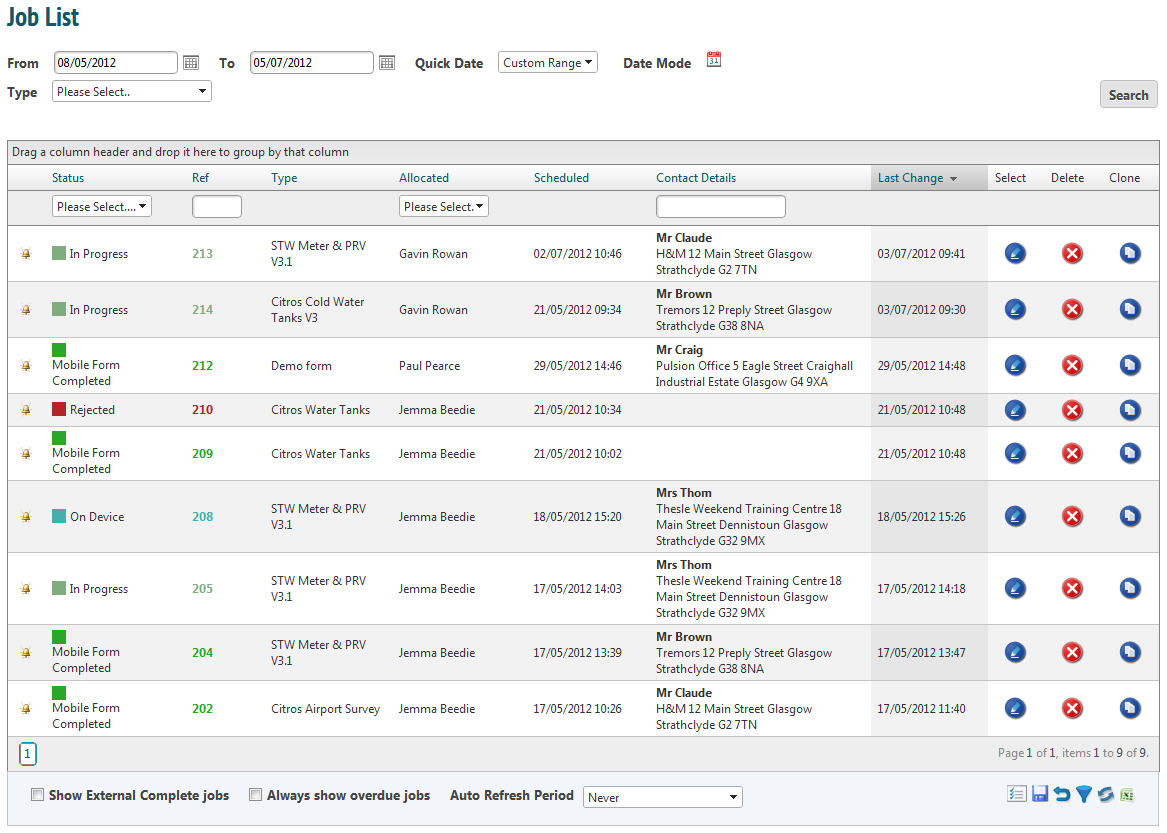
The Job List page can be accessed by selecting ‘List Jobs’ from the ‘Jobs- Issues’ menu. This page lists all jobs in the system with their status.
 Signifies a job that has been created but has not been allocated to an engineer yet.
 Signifies a job that has been allocated to an engineer but has not been synced to a device yet.
 Signifies that the job has been synced to the device but has not been started.
 Signifies that the job has been rejected by the engineer it had been allocated to. This will only appear if your engineers have been given the ability to reject jobs.
 Signifies that the form has been opened on a mobile device and is not on hold. This usually means that the job is being completed by the engineer at the time.
 Signifies that the form has been completed and sent back to the web system. It can be proofread and edited before being closed.
 Signifies that the job has been completed, proofread and marked as complete. Jobs that are marked complete cannot be edited.
Filter by Date or Type
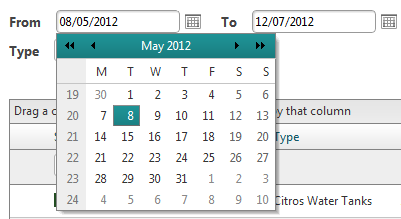
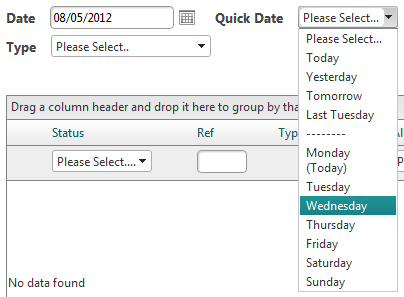
Jobs are searchable in a number of ways. Details of jobs between two dates can be viewed by selecting the appropriate dates from the calender view. Dates can be up to 3 months apart.
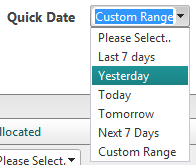
To see jobs quickly, there are a range of options from the ‘Quick Date’ dropdown list.
Clicking on  will give the option of choosing to see jobs on a specific date, again by using the calender view, or by selecting a date from the ‘Quick Date’ dropdown list. From this list you can choose to view all jobs scheduled for a day of the current week.
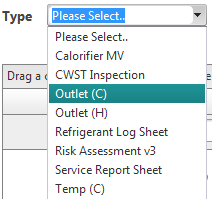
Jobs can also be filtered by type. To view jobs this way, select the job type from the ‘Type’ dropdown list.
Filter Details

Web system users can choose how they view the Jobs List page. The headers at the top of the list can be used to filter the information shown. To see information filtered by one of the headings, just click, drag and drop the heading into the top bar.

Selecting ‘Scheduled’ and dragging and dropping it, for example, will show the list like this:
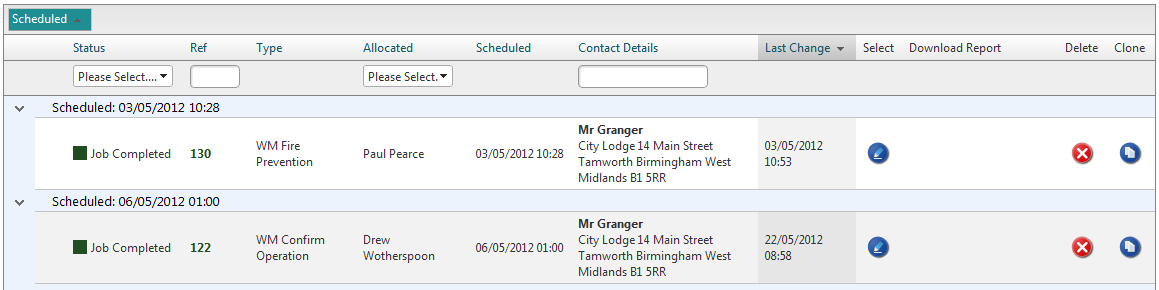
Adding more headers will continue to filter the information in the same order. In the example below, jobs are filtered first by date scheduled and then by whom they have been allocated to. It is also possible to choose headers by right-clicking and selecting ‘Group By’.

Information Displayed
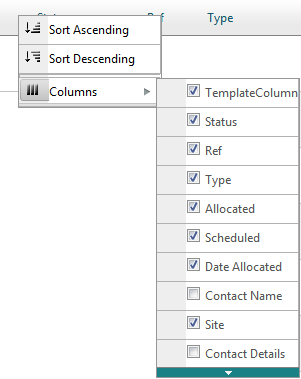
To select which fields are displayed, right-click on the bar at the top of the list. Hover over ‘Columns’ and choose which fields you would like to view by checking or un-checking the boxes.
Extra Icons
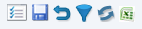
These icons in the bottom right-hand corner of the screen can also be useful. Hovering over each one gives a description of what they are for. Clicking the ‘Save’ button ensures any changes you have made regarding what information is displayed in the Jobs List page is saved for next time. If this is not clicked, any changes you have made will be discarded next time you load the page.
There is also an option to export the information to Excel in case it is necessary to print the Jobs List.
Clicking  will take you to the job’s details page. From this page you can proofread, add notes or mark the job as complete.
Clicking  will delete the job. A window will open asking you to confirm you want to delete the job.
Clicking  will clone the job. This means a new job will be created with exactly the same details (ie, answers already filled out, notes). It will not automatically be allocated. This may be useful if a different engineer is completing a scheduled task and would find it helpful to have the last set of answers to hand.