
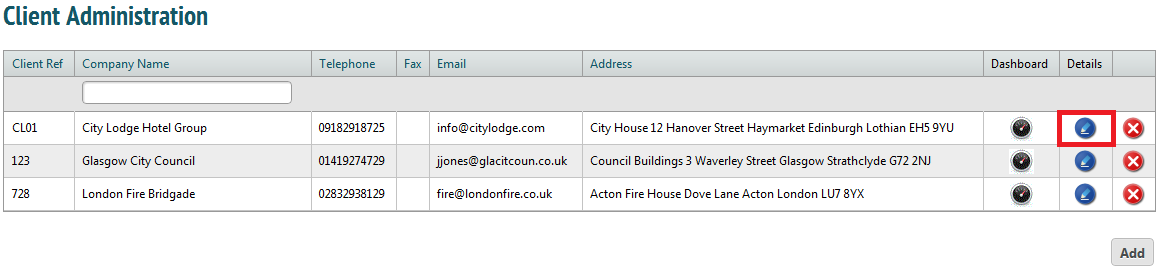
To give a client permission to view information, go to the Client Administration page. Choose the client you want to access information for and click the ‘Details’ icon.
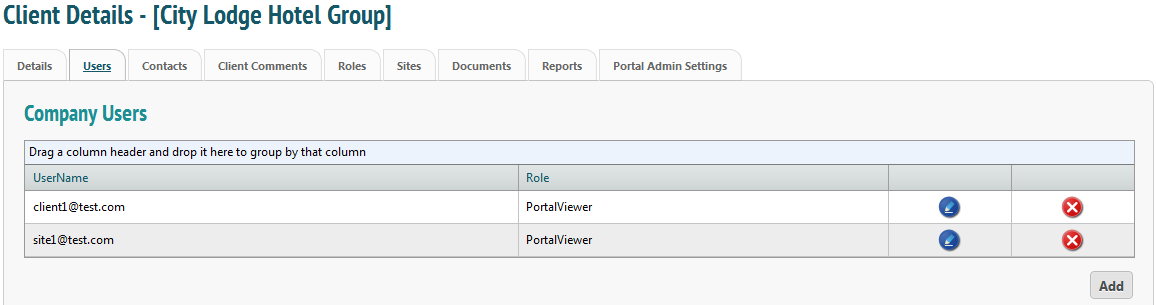
Click the ‘Users’ tab and then ‘Add’.
You may then fill in any details you need such as name, username and contact details. You will also have the option to choose their level of acces.

We recommend you uncheck the boxes: they are defaulted to give the user permission to sync jobs and manage assets on a PDA, but your client user will probably not have a PDA.
Change the role to ‘PortalViewer’. This means your client will only be able to view information, not change anything. Click ‘Add User’ to go back to the Client Details tab.
To change permissions for client users, select the Portal Admin Settings tab.
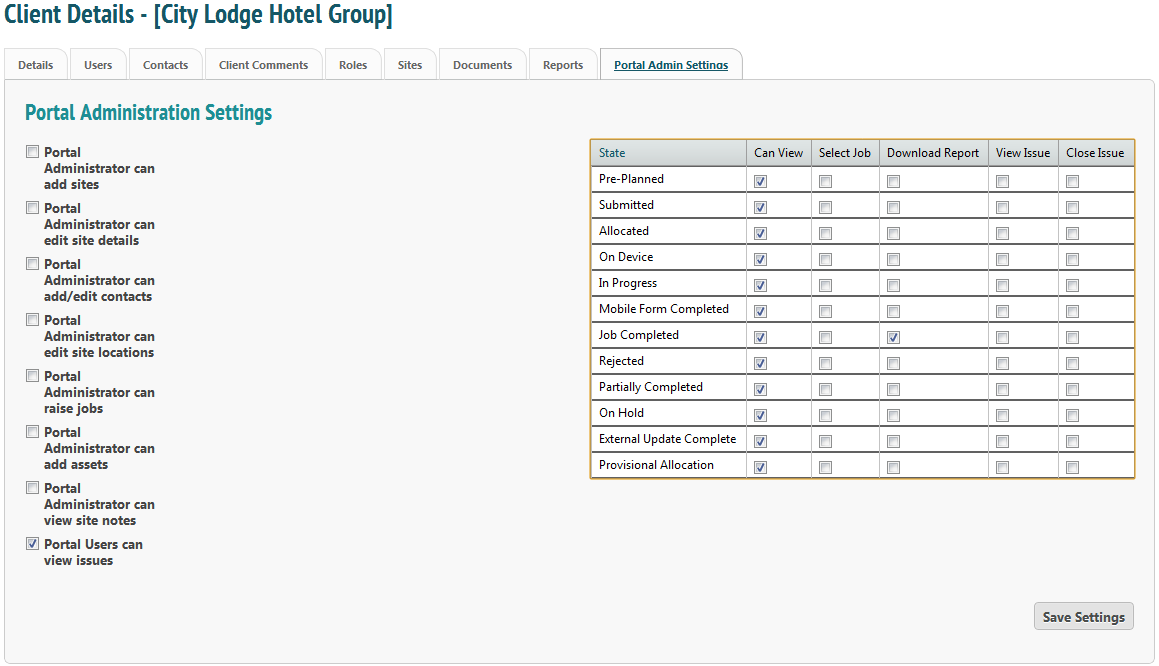
‘Portal Administrator’ means that any client users with this level of permission will be able to amend information. Thier exact level of access depends upon which boxes you check in the list on the left hand side. ‘Portal Users’ can only view information. If you’d like your client user to be able to view issues raised on assets, check the ‘Portal Users’ can view Issues’ box.
More options are on the right. When you have selected your choices, click ‘Save Settings’. Your client user can now view any information you’ve given them access to. You may also change these settings at any time.